
This post may include affiliate links, view our disclosure policy for details.
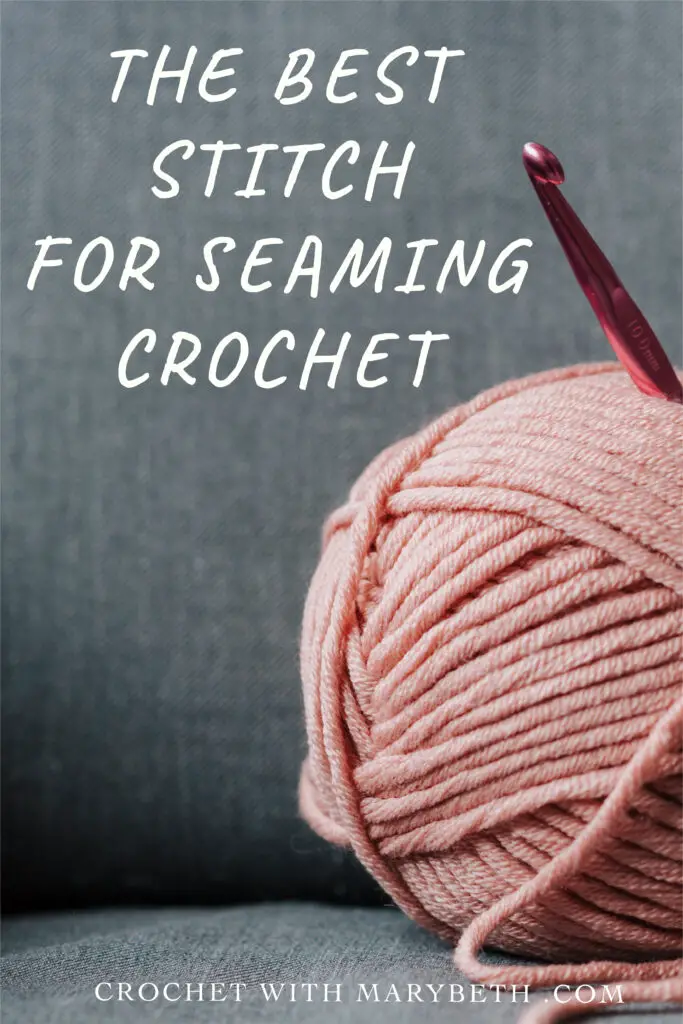
There are a lot of different stitches you can use to seam a garment: whip stitch, mattress stitch, single crochet, running stitch, etc. But which of these crochet seams is the best? My answer might surprise you.
My advice is to use the stitch you enjoy the best. What? “Aren’t some stitches better than other stitches?” you may ask.
Yes, but if you hate the best stitch for the job then I don’t recommend it. Let me explain.
Crochet Seams
Crochet seams vary from enjoyable to drudgery, strong to loose, and visible to invisible. I take all 3 of these factors into consideration when choosing which stitch to use. And enjoyment is always my deciding factor.
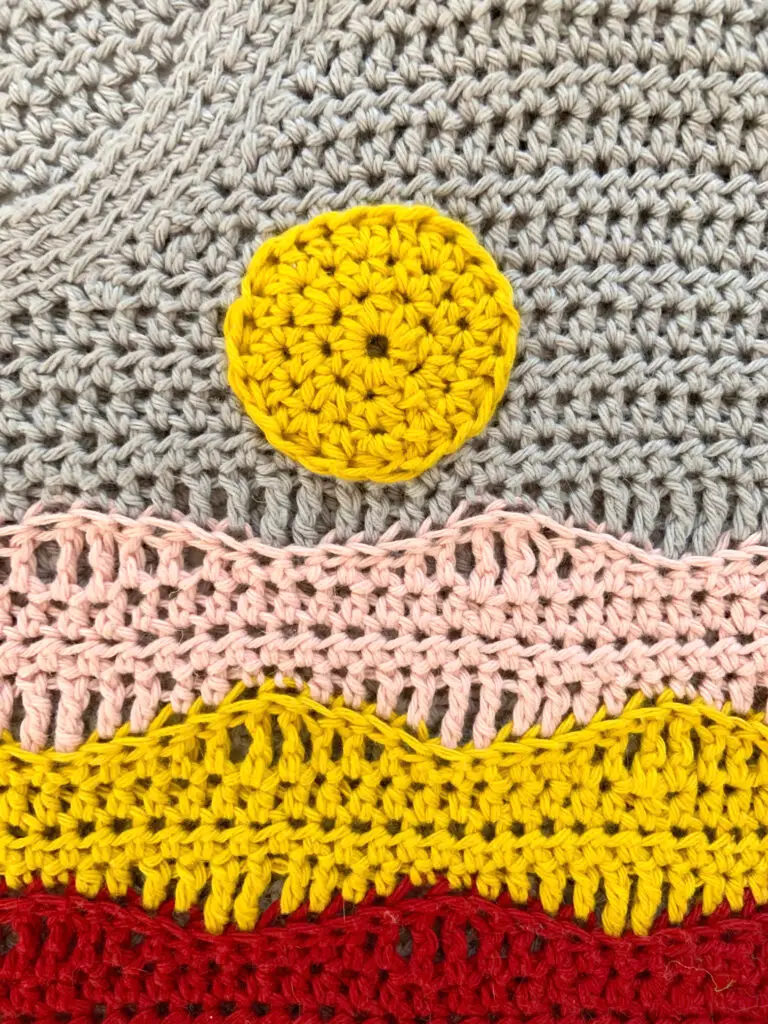
Here are some examples of the stitches that can be used for seams and how to decide when and where to use them.
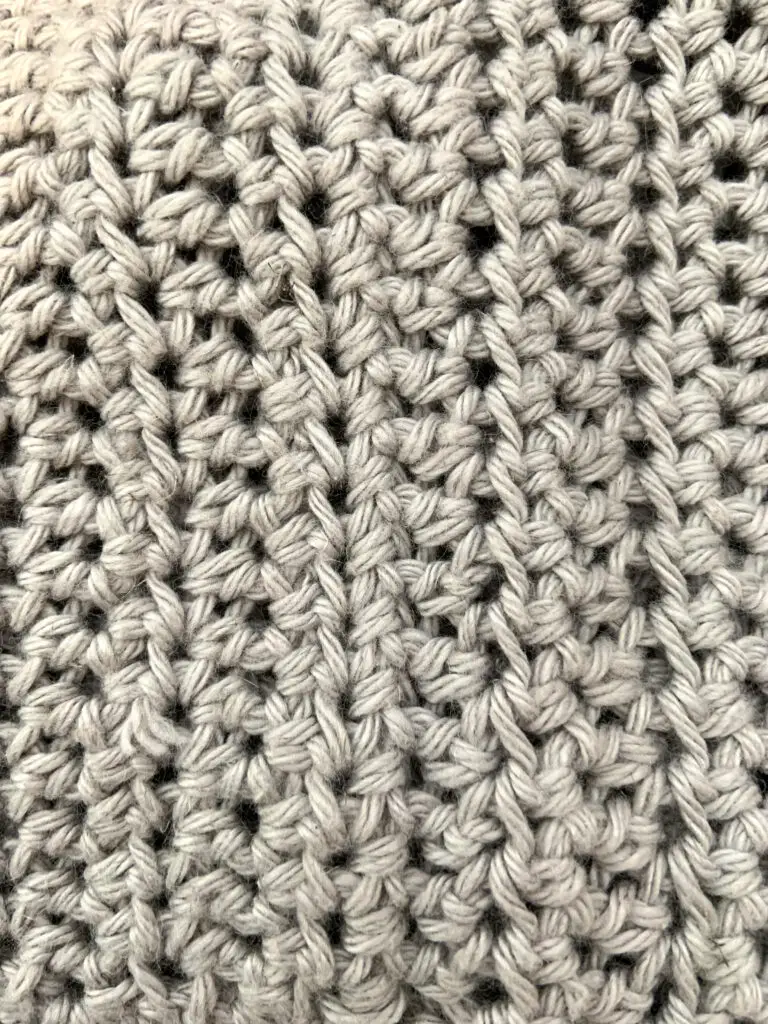
The Locking Mattress Stitch
Awhile ago I saw a video where Shannon Mullett-Bowlsby demonstrated the locking mattress stitch. It holds crochet seams together very tightly without bunching and you can barely see it. It’s the perfect crochet seam. 10 for strength and 10 for invisibility. Except for one thing, it’s pure drudgery! It’s boring and tedious and impossible to pull out if you make a mistake.
It gets a 0 from me for enjoyability. Even though this is probably the best seam to use for all areas of a garment, I don’t ever use it because I hate it.
Single Crochet
In my opinion, the most enjoyable of the crochet seams is the single crochet stitch seam. Place your pieces right sides together and sc those edges together. Bam, you’re done.
It’s a very strong stitch and it’s not sewing, it’s crochet. I give it a 10 for strength and a 10 for enjoyability. Where it falls short is visibility. It’s makes a visible seam on the edge of your garment and a bit of a crease. So I’m thinking a 5 for invisibility.
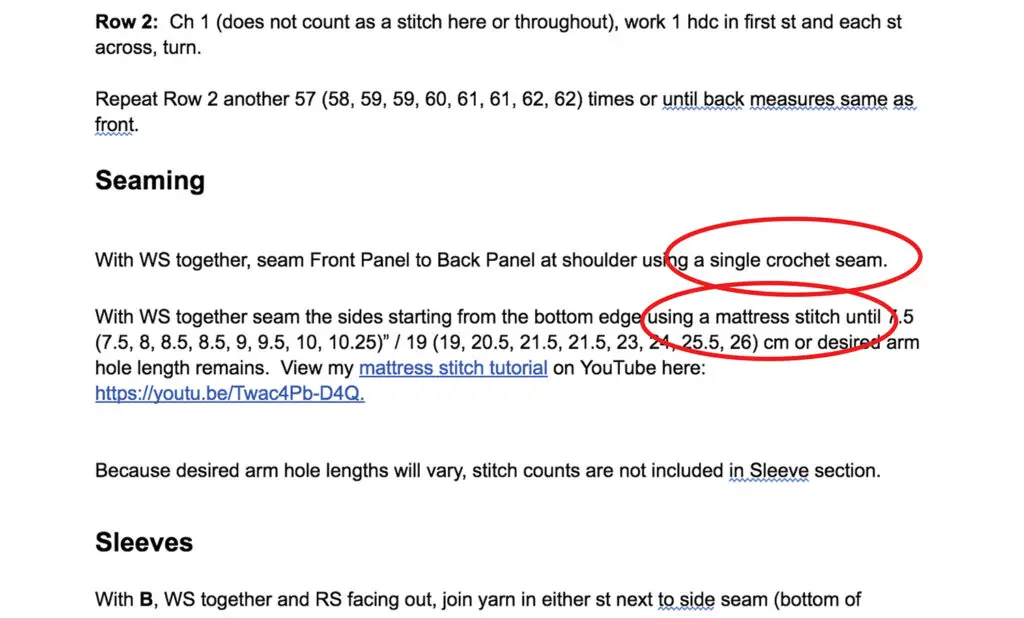
Taking all of that into consideration this is a great stitch for shoulders. It’s perfect because the weight of the garment hangs on the shoulders. And the weight of the garment flattens the seam making it less visible. This is the seam I always recommend on shoulders.
I don’t use a single crochet seam on the sides of my garment because I prefer to use a seam that is more invisible. But you know what? If you hate sewing, just use the sc crochet seam on the whole darn garment and call it a day. Who cares if you can slightly see a seam? You can see a seam on sewn clothing and no-one gives a hoot about that.
And if using a crochet seam you enjoy is the difference between finishing your garment or your garment living in the WIP pile for all of eternity, then do the single crochet seam by all means. There’s no reason to torture yourself. Crochet is supposed to be fun.
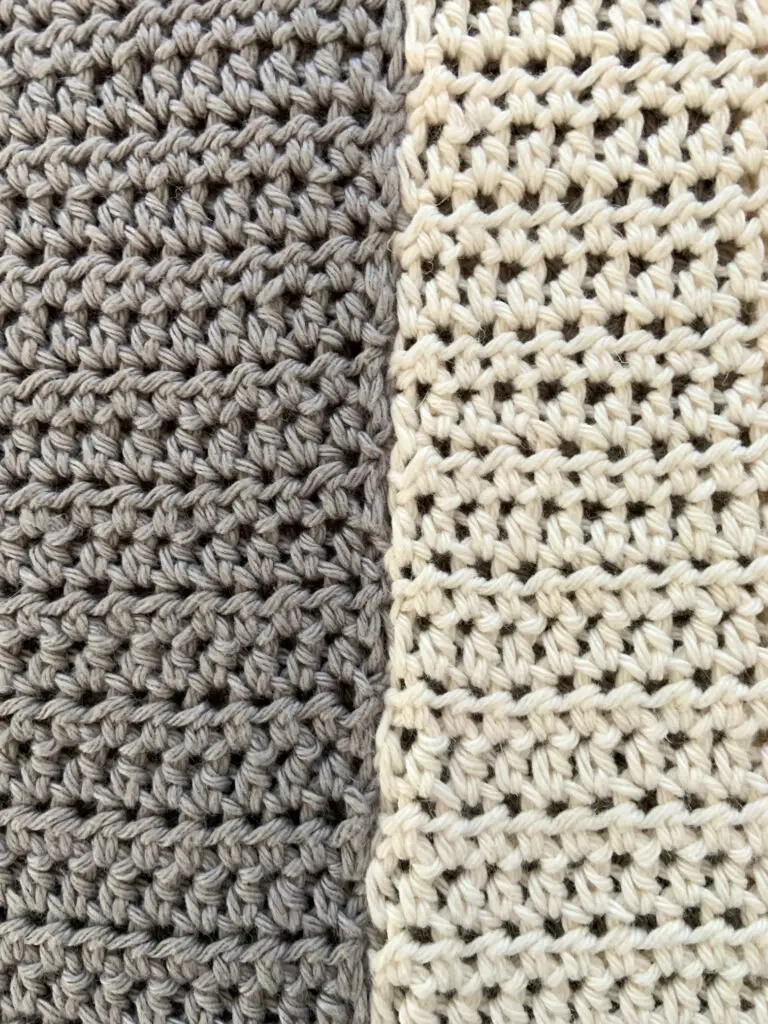
Easy Mattress Stitch
If you are up for a little stitching, I highly recommend the easy mattress stitch for the sides and underarms of a garment. It’s a lot easier than Shannon’s locking mattress stitch. It’s not as strong as other crochet seams like Shannon’s stitch or the sc but you don’t need a ton of strength on the edge of a garment or under the arm.
For these areas the easy mattress stitch is my go to stitch. I give it a 7 for strength, a 7 for enjoyability and a 10 for invisibility. If you’d like to learn the easy mattress stitch you can view a video tutorial that I created on my YouTube channel HERE.
The Whip Stitch
The whip stitch is an enjoyable crochet seam, just stitch around and around and your done. This stitch is not super strong though. I would not recommend using this on the shoulder of a garment. And it makes a bit of a visible seam.
But I see a lot of designers using this stitch to successfully seam their garments. So I definitely thinks it’s a seam worth considering. It has a similar look to the single crochet seam when finished.
I use the whip stitch mostly for attaching small pieces to a large piece, like attaching pockets or appliqué.
But again, if whip stitch is your favorite seam just go for it and seam up the whole garment that way. It’s perfectly strong enough for the sides and underarms.
Try it on the shoulders. I don’t find it strong enough but if you are using a strong yarn that doesn’t stretch too much it might do the trick. If you start to have gaping at your shoulder seam, turn the garment inside out and try a different stitch. No big deal.
Running Stitch
Although the running stitch is perfect for sewing cloth garments I’ve never heard of anyone using it to seam a crochet garment. It’s not ideal. It’s not very strong and your seam is going to be very visible. But if this is the seam for you then go for it.
And like the whip stitch, if your shoulder seam starts to gap, turn your garment inside out and try a different stitch. It’s all about experimenting and finding out what works best for you and your project.
I use this seam for attaching appliqué when I want the sides of my appliqué to be visible.
The Recommended Stitch
Often times in a pattern the designer will recommend a stitch. I do this in my crochet patterns. When recommending which stitch to use I use my above method for choosing the stitch (strength, enjoyability, and visibility). I think all designers do.
Take the designer’s instruction as a suggestion. They have their reasons for choosing that stitch. Strongly consider using the recommended stitch because that is the stitch they found worked best for that area of the garment.
But if you hate the stitch, try your own. If your stitch starts to gap or doesn’t work in some way you can always take it out and redo it a different way. That’s one thing I love about crochet. Your decisions aren’t permanent. If it doesn’t work just pull it out and redo it.
In Conclusion
As you can see, the answer to “which seam should I use?” is not cut and dry. There are a lot of things to take into consideration including you and your preferences. My final answer is consider the best seams for the job, then choose the one you like the most or the one you hate the least. Ha-ha.
And always do what is best for you. It’s more important that you finish your project and enjoy all the hard work you put into your garment than whether or not the side seam is visible. I want your project to end up being worn and enjoyed by you, not sitting on your to do list for the rest of your life.
I hope this makes you more confident when choosing seams and makes seaming your garments more enjoyable for you.
Mary Beth Cryan has been designing crochet patterns for over 4 years. Prior, Mary Beth worked as a professional illustrator and product designer with a specialty in paper crafts for 18 years. She has authored and illustrated 17 paper craft books, countless pop-up greeting cards, and many paper craft kits. She received 3 LOUIE Awards from the National Greeting Card Association. Some of her clients included MoMA (Museum of Modern Art NYC), American Girl, Dover Publications, Peter Pauper Press, Ranger Rick Magazine, Highlights magazine and many others. She earned a Bachelor of Fine Arts from Syracuse University in 2000.