
This post may include affiliate links, view our disclosure policy for details.
Learn Something New
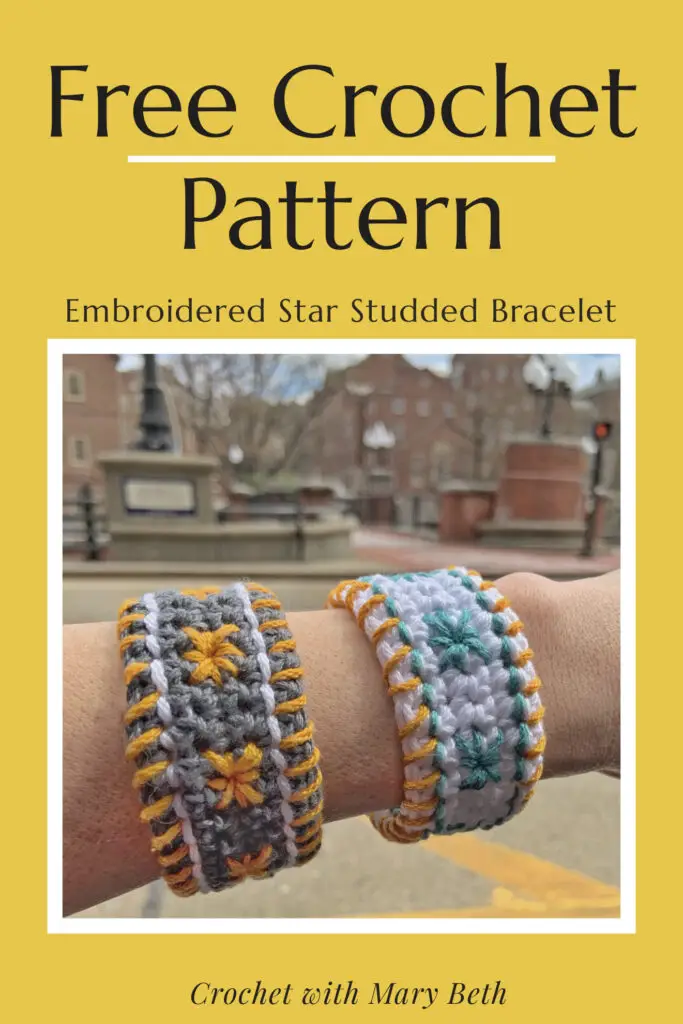
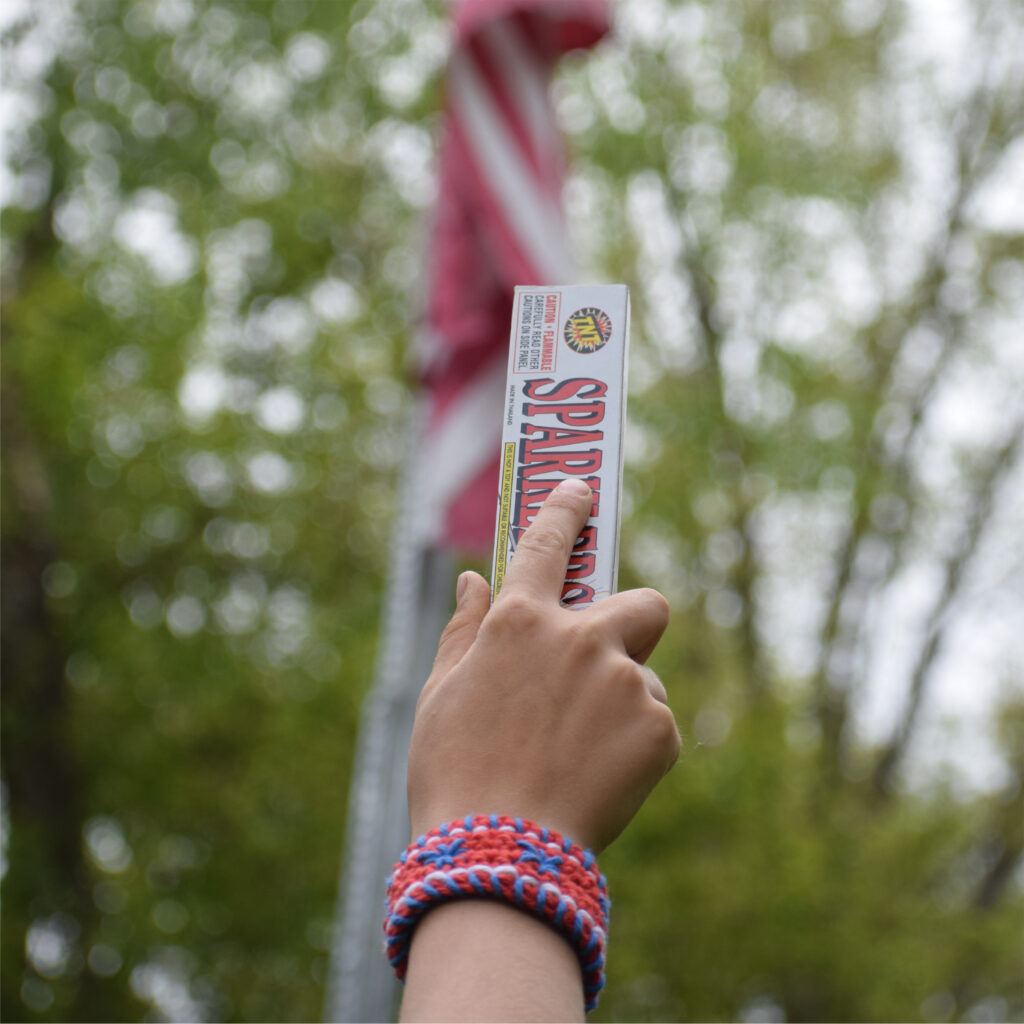
Want to learn? The Star Studded Bracelet is a great intro to the technique.
In the pattern I walk you through how to get started embroidering on crochet and teach you three embroidery stitches. No prior embroidery experience needed.
You can scroll to the end of this post to start learning and making the free Star Studded Bracelet pattern or continue reading for more info about the inspiration for the pattern and all the details of the pattern.

Quick & Easy
And it’s super quick (2 hours or less). This lightweight bracelet is a great break during a larger crochet project or a quicky that will fit into your busy schedule.
You can make this project! I’ve got you covered. The pattern includes written instructions for the crochet and embroidery, as well as instructional photos for the Star Stitch, Whip Stitch, and Back Stitch.
Speaking of whip, I also whipped up a short little video tutorial on the Star Stitch. The Star Stitch is currently my FAVORITE embroidery stitch.
And if you still have questions email me! I have a dedicated pattern support email listed at the end of the pattern.
The pattern was great, really clear and easy to follow
Amanda P. – Tester
Spark Your Creativity
Want to spark your creativity? There are millions of color possibilities for this baby. Use as few as 2 or as many colors as you want.
Experiment!! Be inspired!
Try your favorite colors or some unusual colors or seasonal colors!
But consider this your warning. Most of my testers couldn’t make just one. Ha-ha. Scroll to the end to see their fabulous color combos.

I loved this pattern so much! Super fun!
Stacy S. – Tester
Great Gift Idea
The bracelet makes a great gift. Make it for yourself or for a friend. Only have two hours until Mom’s birthday party? You still have time to make her this bracelet.
I’ve included instructions for 4 different sizes. And great news, the bracelet circumference is super customizable. The instructions for modifying are included.
So get your embroidery on and get ready to experience the tingle of instant gratification. Oooooooh yeeeeeeeah!
I love the look of it. It is so customizable for anyone or holiday. I have plans to make them for gifts.
Stacey S. – Tester
Customizable
The bracelet pattern comes in 4 sizes, 7 (8, 9, 10)” / 18 (20.5, 23, 25.5) cm. And instructions are included to easily change the size.
It’s very cute and I have very small wrists that most bracelets do not fit.
Stevie C. – Tester
Color Inspiration
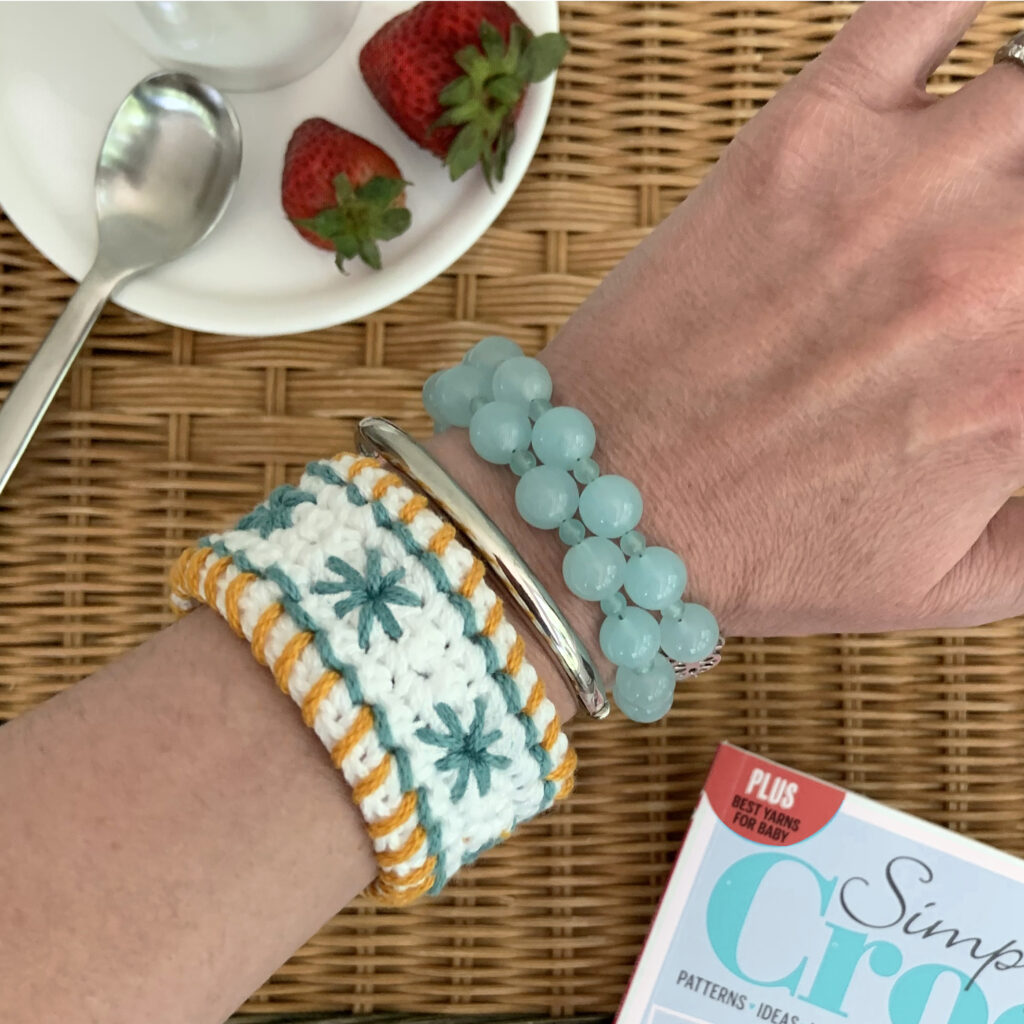
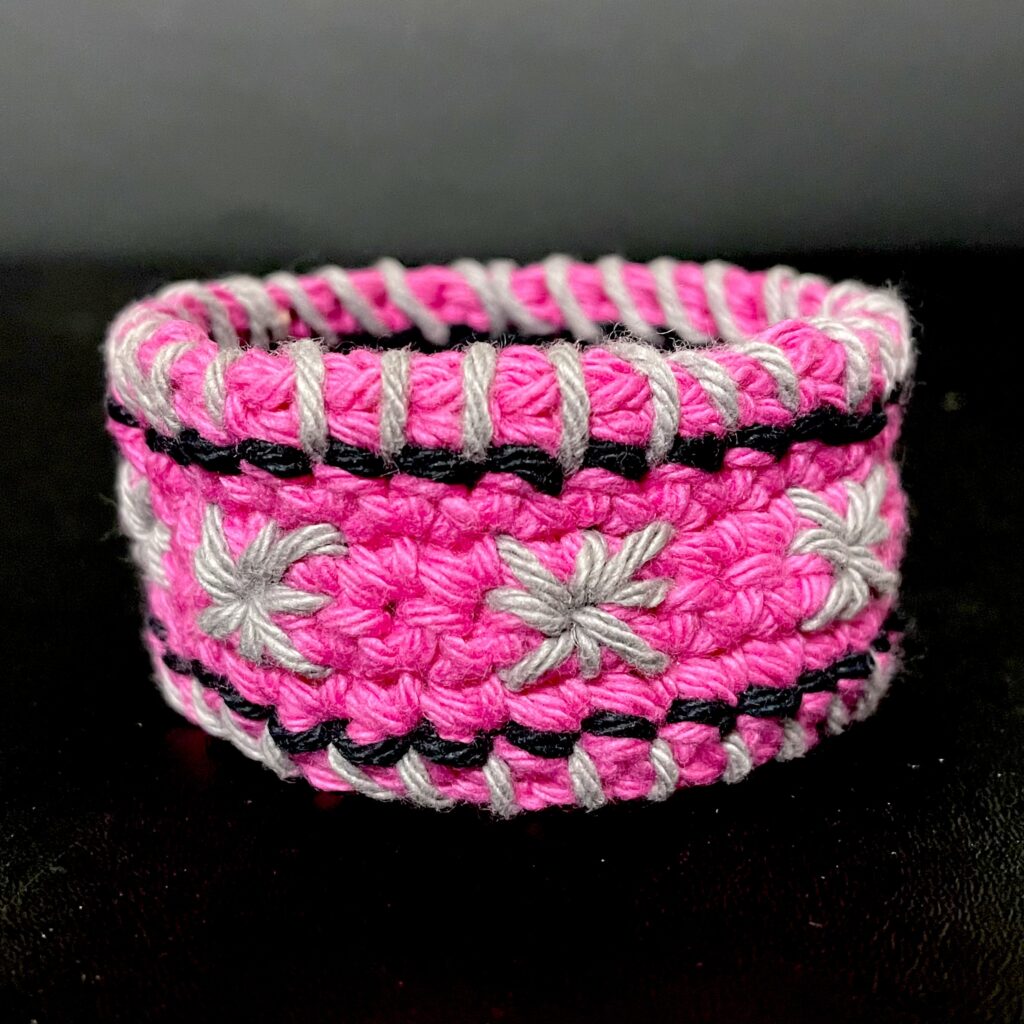
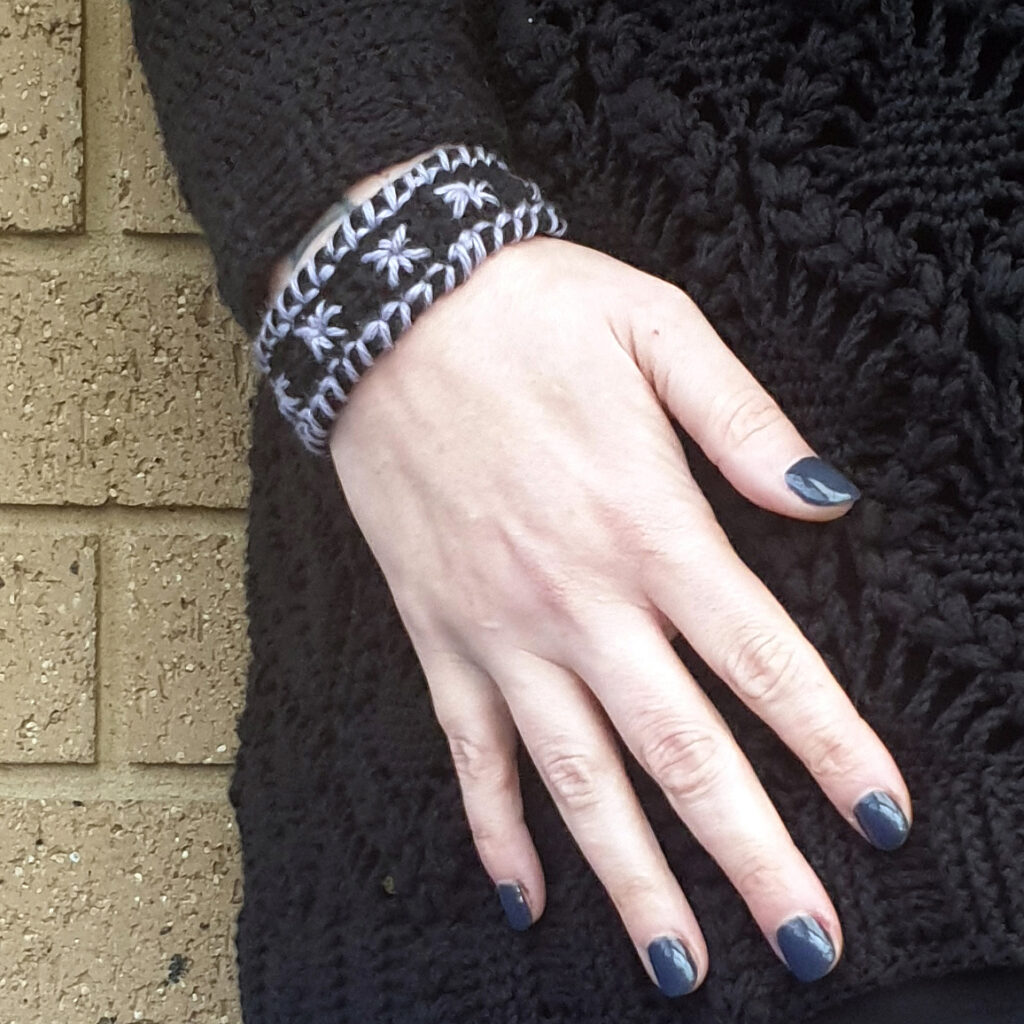
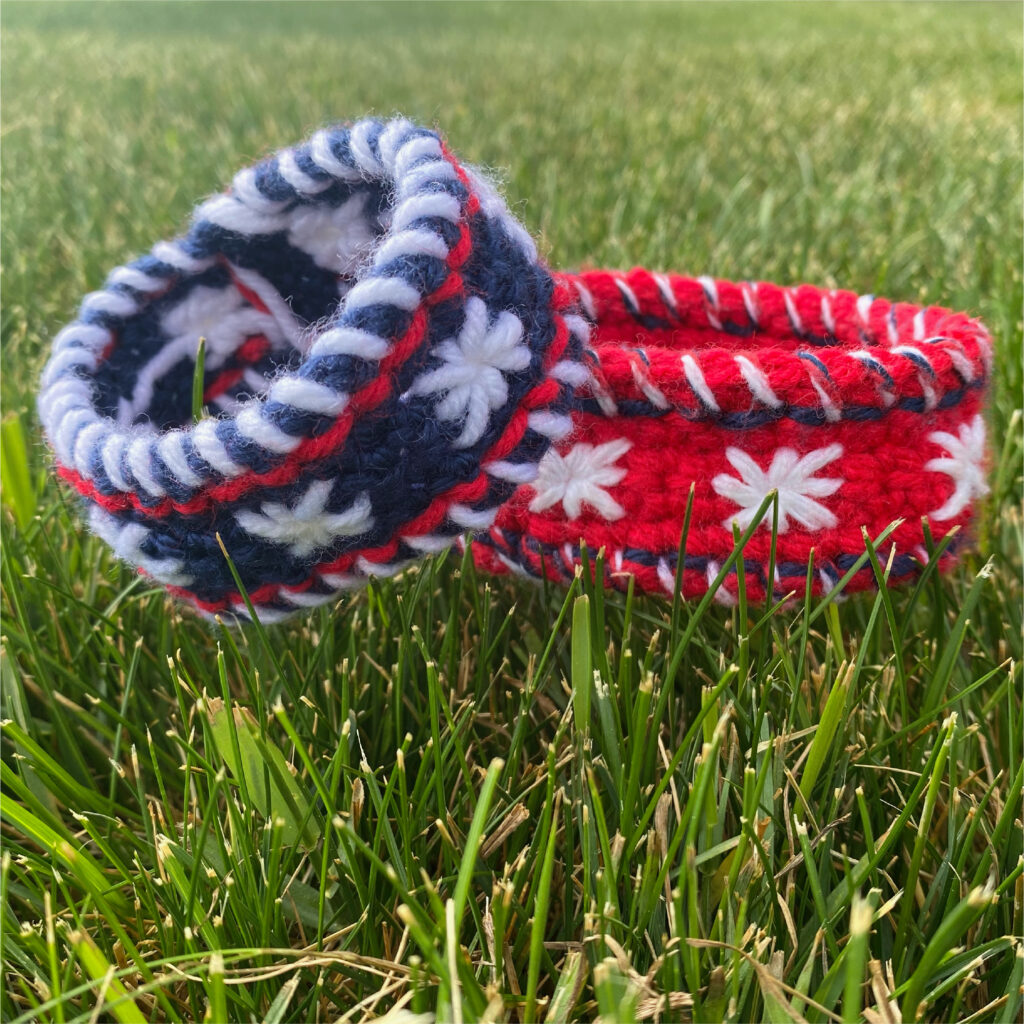
Need some color inspo? Check out these gorgeous bracelets by my testers.
It’s a quick one…
Diane G. – Tester
Star-Studded Bracelet
Materials:
- Lion Brand 24/7 Cotton Yarn, worsted weight #4 yarn (100% mercerized cotton; 186 yds/170 m per 3.5 oz/100 g skein), 1 skein each of Color (A) Charcoal, (B) Goldenrod, and (C) White

- Crochet hook size US G/6 (4 mm)
- Tapestry needle
Approximate Yardage:
Color A: 16 yds/14.5 m
Color B: 5 yds/4.5 m
Color C: 2 yds/2.5 m
Substituting Yarn:
Testers recommend:
- Lion Brand Re-Up Yarn
- Yarnspirations Lily Sugar’n Cream Yarn
- Yarnspirations Peaches & Crème Yarn
- 4 Seasons Pure Wool Entwine 8 Ply Yarn
Gauge:
4 sts and 5 rows = 1”/2.5 cm in single crochet
Finished Measurements:
Finished Circumference: 7 (8, 9, 10)” / 18 (20.5, 23, 25.5) cm
Width: 1.25” / 3 cm
Project Level:

Abbreviations:
ch(s) – chain(s)
sc – single crochet
Notes:
- The pattern is written in US terms.
- This pattern has been tested and professionally tech edited for accuracy and clarity.
- Ch 1 does not count as a st.
- To lengthen or shorten circumference add or subtract 4 ch from initial ch. Every 4 chs will make a 1” / 2.5 cm difference. You must modify the ch in increments of 4 or embroidery will not fit.
- I prefer my bracelets a little loose, 1” / 2.5 cm larger than my actual wrist circumference measured at the bone.
- Bracelet is worked in rows, stars are embroidered, short ends of bracelet are seamed, borders are embroidered.
Instructions
Bracelet Base
With color A, leaving a 10” / 25.5 cm tail for seaming, ch 28 (32, 36, 40).
Row 1: Work 1 sc in 2nd ch from hook, work 1 sc in each ch across, turn– 27 (31, 35, 39) sc
Rows 2 – 6: Ch 1, work 1 sc in first sc and each sc across, turn– 27 (31, 35, 39) sc
Fasten off.
Embroidery on Crochet
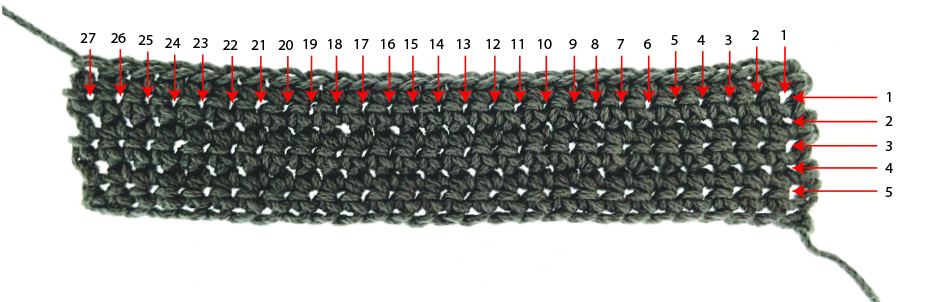
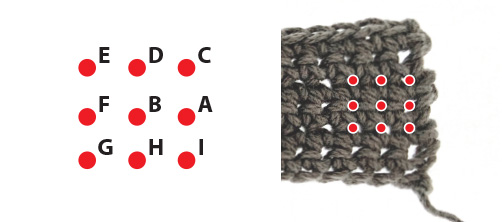
You will be embroidering in the spaces between the single crochets. Think of your crochet as a piece of embroidery canvas. The grid of your stitches is equivalent to the grid of the canvas. The spaces between the stitches are the spaces in your canvas (image 1).
You will have the same number of spaces across as you have stitches in row 6, 27 (31, 35, 39) spaces across, and one less space going up and down as you have rows (5 spaces).
Note: There is not a difference between the right and wrong side.
Star Stitch
See video tutorial for stitch here: Go to Video on YouTube
With color B, thread a tapestry needle with 1 ft / 30.5 cm of yarn for every two stars you will be embroidering. For example, if you are embroidering 8 stars you will need 4 ft / 122 cm. You will be embroidering a total of 7 (8, 9, 10) stars. I prefer to use one long piece of yarn and only have two ends to weave in. If you prefer to work with a shorter piece of yarn feel free. However, you will have more ends to weave in.
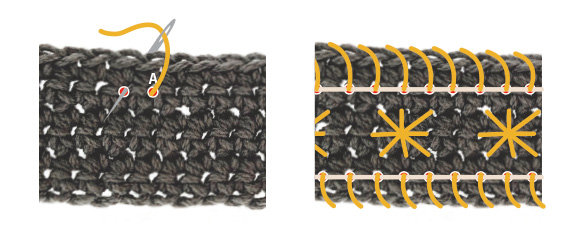
You’re going to be working over a 9 point grid, coming up at any outside point and always going down in the center (image 2a). It’s best to work around the square as you do this, starting with A and ending with I. Your first grid is placed starting in the first vertical row of holes on the right hand side of your bracelet in the centermost row of stitches (image 2b).
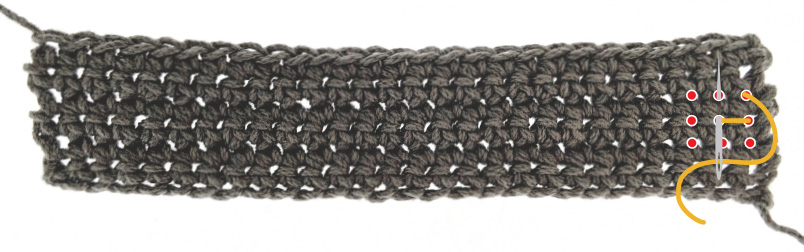
Start with your needle behind your work. Come up at A. Down at B, up at C. Down at B, up at D (image 3). Continue with spaces E – I ending by inserting the needle down through B.
When embroidering here and throughout pattern, be sure not to pull your yarn too tight or it will disappear into your stitches. Keep the embroidery stitches sitting on top of your crochet stitches.
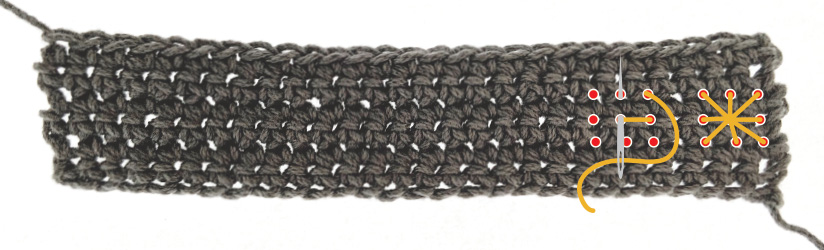
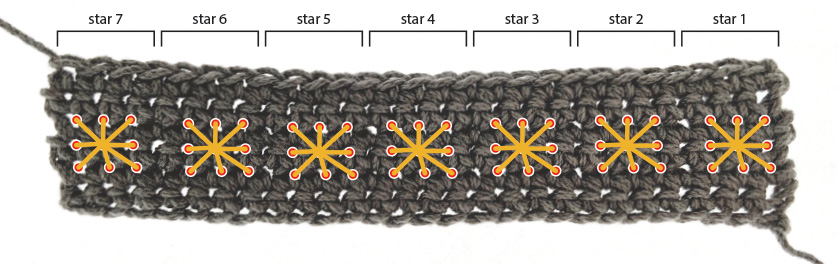
Start the second star by coming up in the middle row of spaces, two spaces over from your first star (image 4). Repeat for stars 2 – 7 (8, 9, 10) (image 5). Be sure to leave 1 space (2 stitches) between stars.
For last star, E, F, and G will end in the last spaces of your bracelet (image 5). If they do not, you have miscalculated a space, most likely you have missed or added a space between stars.
Seaming
Seam the short ends of the bracelet together to form a loop. Fasten off. Weave in ends using tapestry needle. Note: the space between the short ends becomes a “space”. You now have 28 (32, 36, 40) spaces.
Embroidery on Crochet Continued
Back Stitch
With color C, thread a tapestry needle with 2 ft / 61 cm (for 7” / 18 cm bracelet) to 3 ft / 91.5 cm (for 10” / 25.5 cm bracelet) of yarn. Start with your needle behind your work, come up at any space in the first row of spaces. This space is now A. Insert needle at B and come out one space ahead of A at C (image 6). Insert needle again in same A. C is new A. Previous A is now B. Continue stitching one space ahead, around.
Repeat on all the spaces of the bottom most row (image 7).

Whip Stitch
With color B, thread a tapestry needle with 2 ft / 61 cm (for 7” / 18 cm bracelet) to 3 ft / 92 cm (for 10” / 25.5 cm bracelet) of yarn.
Start with your needle behind your work, come up at any space in the first row of spaces, (becomes space A). Stitch around the top row of stitches and come up in the next space (image 8).
Repeat on the bottom row of stitches. Coming up at any space in the last row of spaces and whip stitching around the bottom row of stitches (image 9). Weave in ends.
You are done! Enjoy your bracelet and bask in the feeling of accomplishment!
Need help?
Email me at my dedicated pattern support email address.

I’d love to see your bracelet!
Please use the hashtag #starstuddedbracelet and tag me @crochetwithmarybeth on social media so I and the community can see your finished project!
Check these patterns out next!
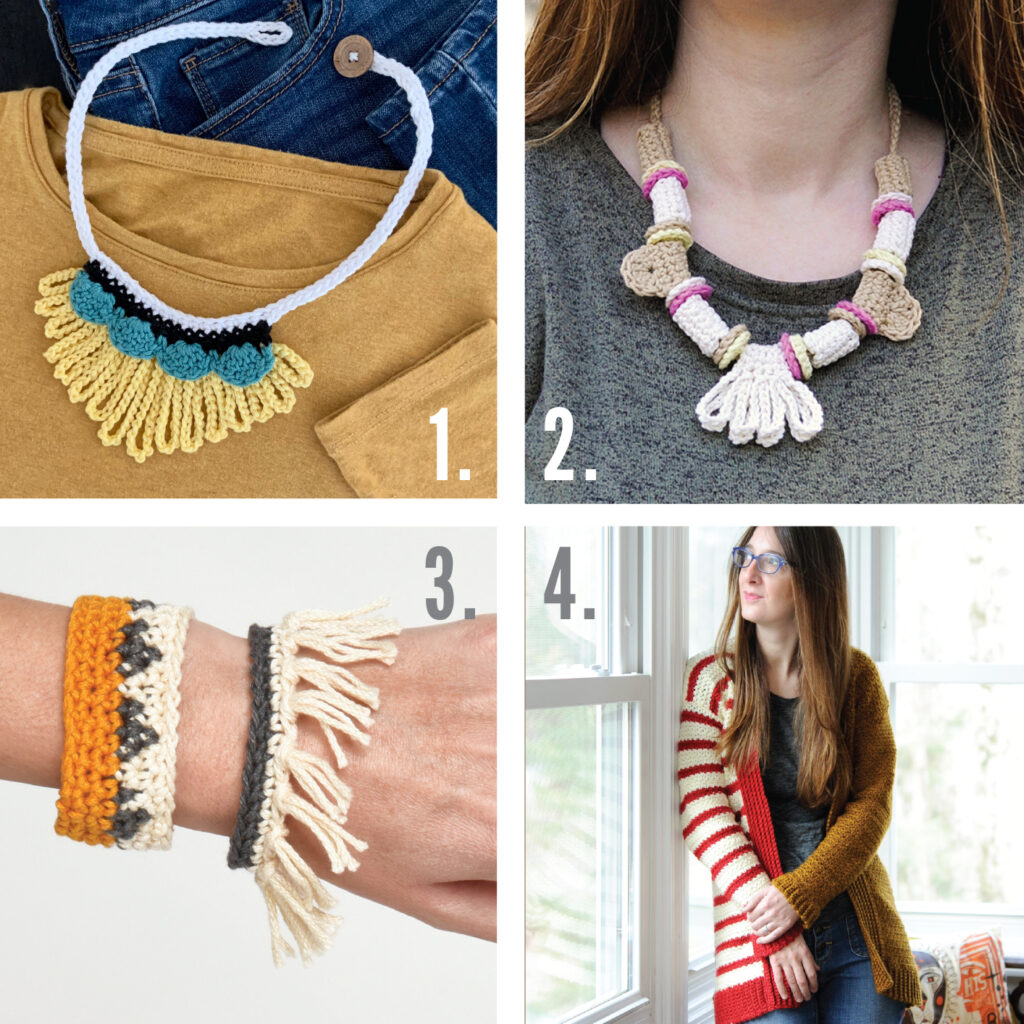
- Loopy Worsted Necklace
- Mod Crocheted Beads Necklace
- Aztec Crochet Bracelet Set
- Stripe Blocked Crochet Cardigan


Mary Beth Cryan has been designing crochet patterns for over 4 years. Prior, Mary Beth worked as a professional illustrator and product designer with a specialty in paper crafts for 18 years. She has authored and illustrated 17 paper craft books, countless pop-up greeting cards, and many paper craft kits. She received 3 LOUIE Awards from the National Greeting Card Association. Some of her clients included MoMA (Museum of Modern Art NYC), American Girl, Dover Publications, Peter Pauper Press, Ranger Rick Magazine, Highlights magazine and many others. She earned a Bachelor of Fine Arts from Syracuse University in 2000.