
This post may include affiliate links, view our disclosure policy for details.
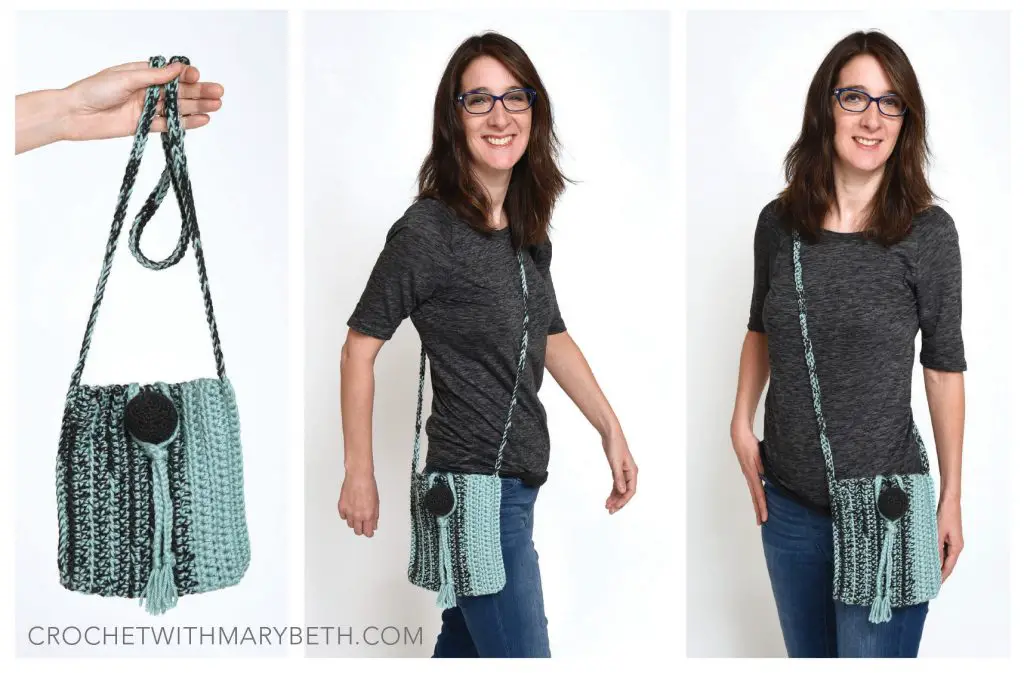 In contrast to my last free pattern, the “Circle Clutch” which is more of a special occasion purse, this “Ball Button Crossbody Bag” is a workhorse.
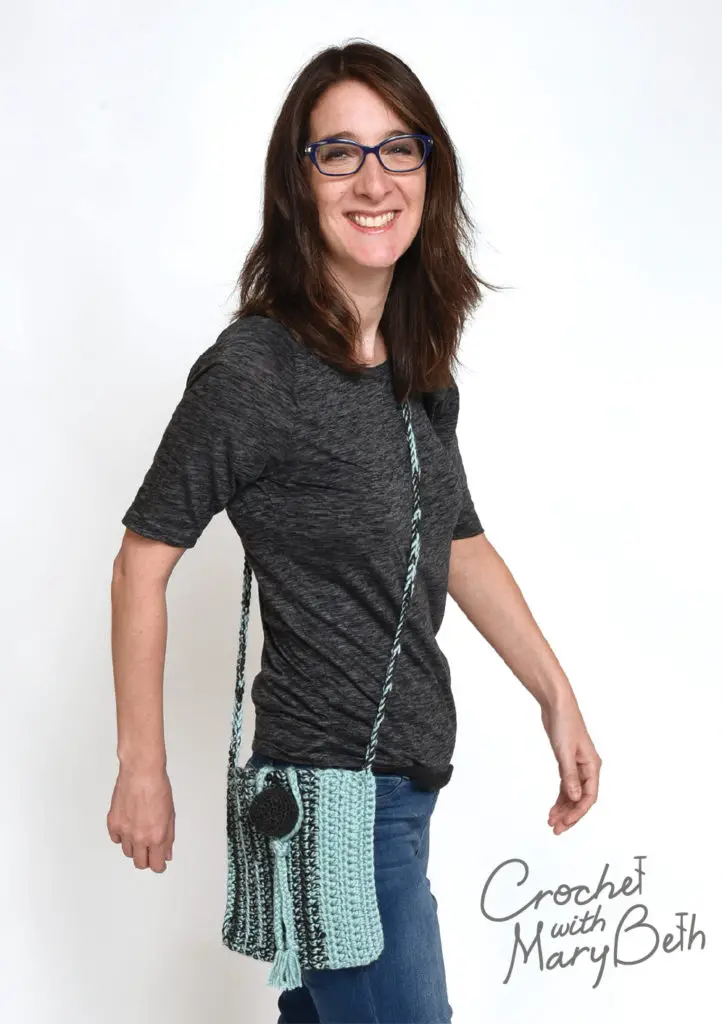
I designed it with going to the park with my little man in mind. Anytime you need a lightweight purse and your hands free it’s time for a crochet crossbody bag! So throw in your keys, phone, and wallet and hit the park.
Throw in some craft store coupons too in case you want to hit the yarn store after the park! Bonus: the closure keeps everything secure inside.
Like the “Circle Clutch” it stitches up quick and easy because you will be working the half double crochet holding two strands of worsted weight yarn together to create a bulky yarn. You’ll be finished and headed to the park or before mentioned yarn store in no time.
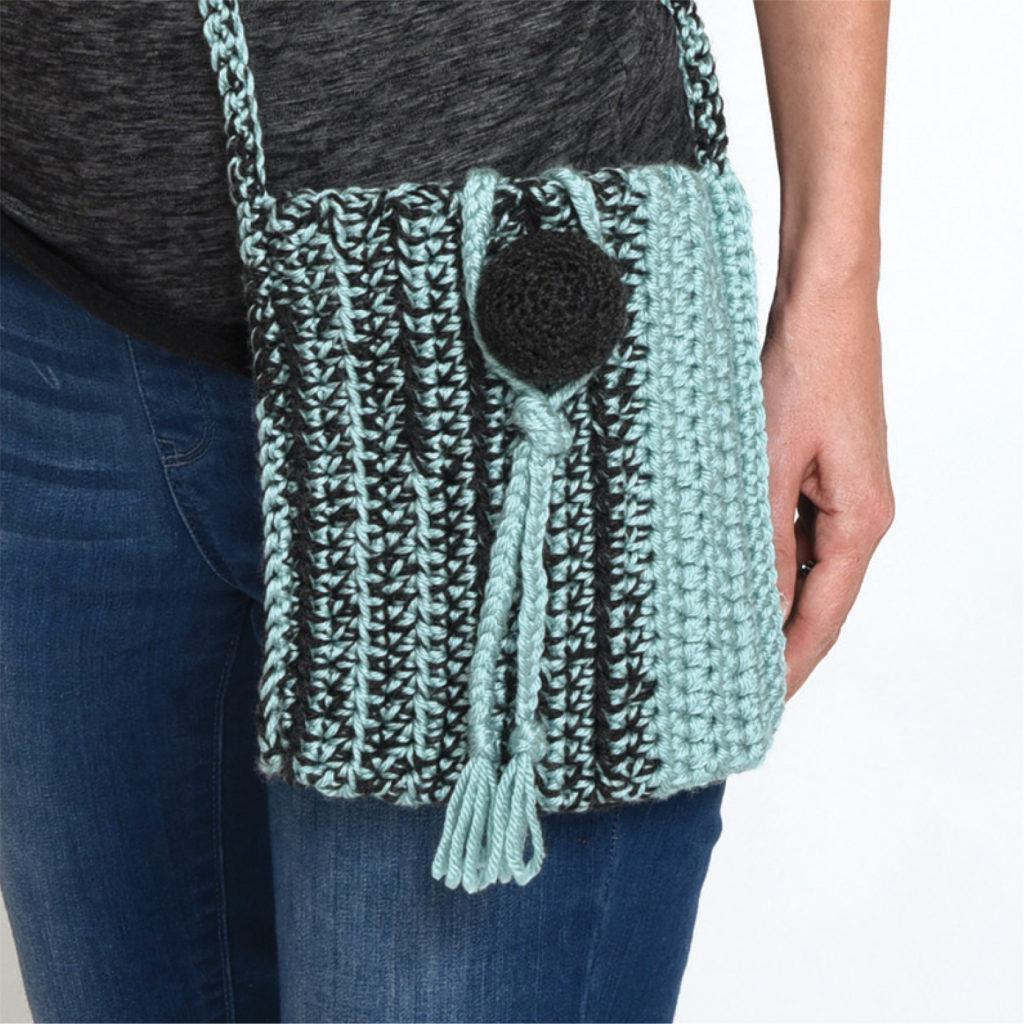
The “Big Ball” part of the bag is inspired by the basketball hoop, tennis court, and baseball field at the park. Our park is very recreational. It even has an outdoor ice skating rink!
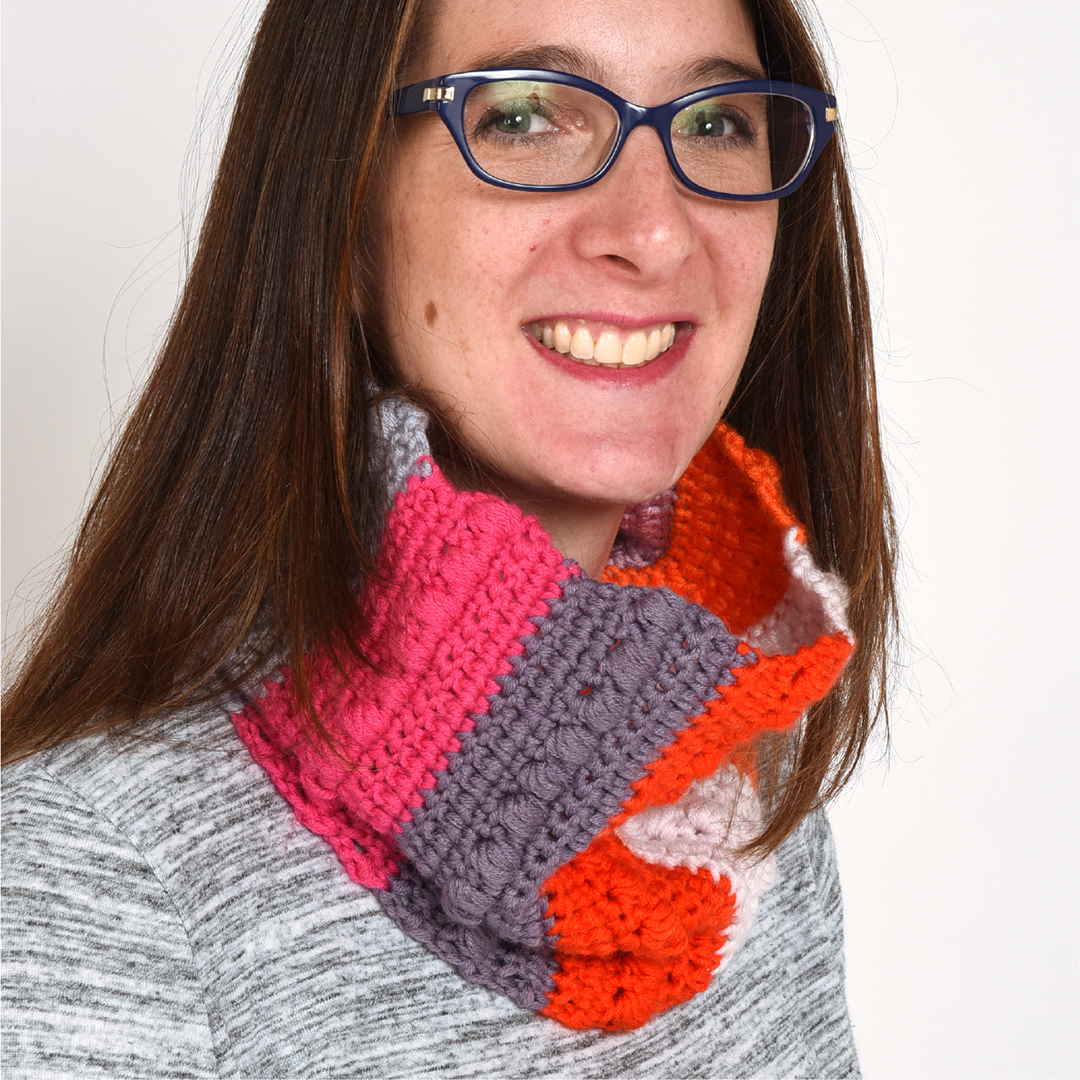
This is the second in my series of “Seeing Spots” bags, all designed with circular motifs. Stay tuned for more coming soon!
Save:
Ball Button Crossbody Bag
Materials:
- Red Heart Soft Yarn worsted 4-Medium (100% acrylic, 256 yds/234 m, 5 oz/140g), Color (A) Sea Foam, 1 skein
- Cascade Yarns Pacific worsted 4-Medium (60% acrylic, 40% merino wool, 213 yds/195 m, 3.5 oz/100g), Color (B) Jet Heather #94, 1 skein
- Crochet hooks size US J/10 (6 mm) and US E/4 (3.5 mm)
- Tapestry needle
- Stitch Markers
- Stuffing
- Scissors
Gauge:
Using Hook US J/10 (6 mm) 11 stitches and 10 rows = 4”/10 cm in half double crochet
Using Hook US E/4 (3.5 mm) First 3 rounds = 1 1/16”/3 cm in single crochet
Finished Measurements:
Abbreviations:
ch – chain
sc – single crochet
hdc – half double crochet
st(s) – stitch(es)
BLO – back loop only
sc2tog – single crochet 2 together (decrease)
RS – right side
Notes:
- You will be holding two strands of worsted weight yarn together when stitching body and strap.
- You will be holding one strand of yarn for the ball button.
- Ch 2 counts as a hdc throughout the pattern.
- Ch 1 does not count as a stitch throughout the pattern.
- You are working on the right side in Row 1. This is indicated by RS. You will need to know which is the RS during the “Forming the Bag” section.
- The strap is intended to be 47” long. If you would like to make it longer or shorter you can change the number of chains in the “Strap” section, row 1. Test the strap against your own body to see what length works for you.
- Ball button is worked in a spiral
- Here is a great tutorial for the overhand knot by Howcast on YouTube
- This pattern is accurate and has been professionally tech edited.
Project Level:
Instructions
Body
Using the larger hook and holding two strands of A together as one, ch 51.
Row 1: (RS) work 1 hdc in 3rd chain from hook (counts as 2hdc), work 1 hdc in each chain across, turn– (50 hdc).
Row 2: Ch 2, work 1 hdc in next hdc and in each hdc across, turn– (50 hdc).
Row 3-4: Ch 2, work 1 hdc in next hdc and in each hdc across, turn– (50 hdc).
Drop and fasten off one strand of A. Pick up one strand of B.
Rows 5-15: With one strand each of A and B held together as one, repeat row 2– (50 hdc).
Row 16: Ch 2, place stitch marker top of ch-2, work 1 hdc in next hdc and in each hdc across– (50 hdc).
Fasten off. Weave in ends using tapestry needle.
Forming the Bag
Lay panel with right side facing down, row 16 to your left and row 1 to your right. Take the narrow end closest to you and fold up until the edges meet. Pin the top corners into place (image 1). Note: on left side, marked ch-2 is your first top corner stitch, pin it to last hdc of Row 16.
Seaming Right Side
Using the larger hook and 2 strands of A held together as one, start at the bottom right corner of folded section (image 2).
Row 1: Insert hook from front to back into sides of bottom row hdc through both layers of fabric (this will be 25th hdc and 26 hdc of row 1) and join yarn with a slip stitch, ch 1, work 1 sc in same hdc, work 1 sc in through both layers of side of each bottom of row hdc to top of bag (image 3)– (25 hdc). Keep loop on hook.
Strap
Drop one strand of A and pick up 1 strand of B on last yarn over of last sc in previous row 1. Do NOT break dropped strand you will come back to it in “Seaming the Left Side” row 2.
Row 1: With one strand each of A and B held together as one, ch 140 (or until strap reaches desired length)– (140 ch). Keep loop on hook.
Seaming Left Side
Row 1: Insert hook from front to back into sides of top row stitches in upper right corner through both layers of fabric (ch-2 and the 50th hdc of row 16) and work 1 sc, work 1 sc in side of each row of hdc until bottom of clutch, turn– (25 sc).
Row 2: Ch 1, work 1 sc into next 25 sc, work 1 sc in BLO of next 140 ch, drop strand B and pick up strand A, with 2 strands of A held together as one, work 1 sc in each sc across– (190 sc)
Fasten off. Weave in ends using tapestry needle.
Ball button
Using the smaller hook and holding one strand of B make an magic ring or ch 3 and sl st in first ch to form a loop. You can view a step by step photo tutorial of the magic ring HERE.
Round 1: Ch 1, work 6 sc in ring, place marker in first stitch of round and move it up as you work the rounds– (6 sc).
Round 2: Work 2 sc in each sc around– (12 sc).
Round 3: (work 2 sc in next sc, work 1 sc in next sc) around– (18 sc).
Round 4: (work 2 sc in next sc,work 1 sc in next 2 sc) around– (24 sc).
Round 5: (work 2 sc in next st, work 1 sc in next 3 sc) around– (30 sc).
Round 6-10: Work 1 sc in each sc around– (30 sc).
Round 11: (work 1 sc2tog, work 1 sc in next 3 sc) around– (24 sc).
Round 12: (work 1 sc2tog, work 1 sc in next 2 sc) around– (18 sc).
Fasten off, leaving a long tail to sew the ball button to the bag. Stuff. Don’t sew hole closed.
Thread the yarn tail from the ball button onto a yarn needle and whip stitch it onto the center front of bag 4 hdc below the top edge. Weave in ends using tapestry needle.
Braiding the clasp
Cut 9 pieces of A 36”/92 cm long. Hold all 9 pieces line up together and tie an overhand knot 3 inches from one end. Separate the pieces into 3 strands of 3. Braid to 3” from end. Secure braid with an overhand knot.
Thread the braid through two holes on either side of the center back, from the inside to the outside, 2 hdc below the top edge (image 4).
Then pull the ends over the top edges of the back and front of the bag and down the front (image 5). Make the ends even.
Holding both braids together tie an overhand knot directly below the ball bottom (image 6). Trim fringe to desired length and your bag is finished!
Mary Beth Cryan has been designing crochet patterns for over 4 years. Prior, Mary Beth worked as a professional illustrator and product designer with a specialty in paper crafts for 18 years. She has authored and illustrated 17 paper craft books, countless pop-up greeting cards, and many paper craft kits. She received 3 LOUIE Awards from the National Greeting Card Association. Some of her clients included MoMA (Museum of Modern Art NYC), American Girl, Dover Publications, Peter Pauper Press, Ranger Rick Magazine, Highlights magazine and many others. She earned a Bachelor of Fine Arts from Syracuse University in 2000.